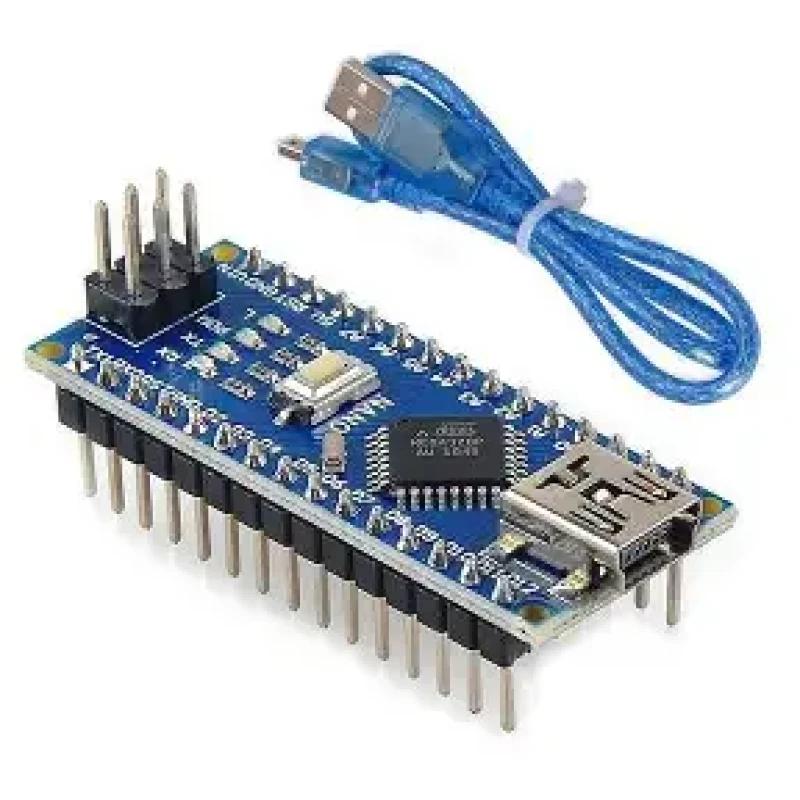

Arduino Nano With Cable
৳ 380 ৳ 340
Product Code: PKB 02
| Inside Dhaka | ৳ 60 |
| Outside Dhaka | ৳ 150 |
| Pickup From Store | ৳ 0 |
01683623013
| 100% original products | |
| Pay cash on delivery | |
| Delivery within: 2-3 business days |
Available Products
There are total three ways by which you can power your Nano.
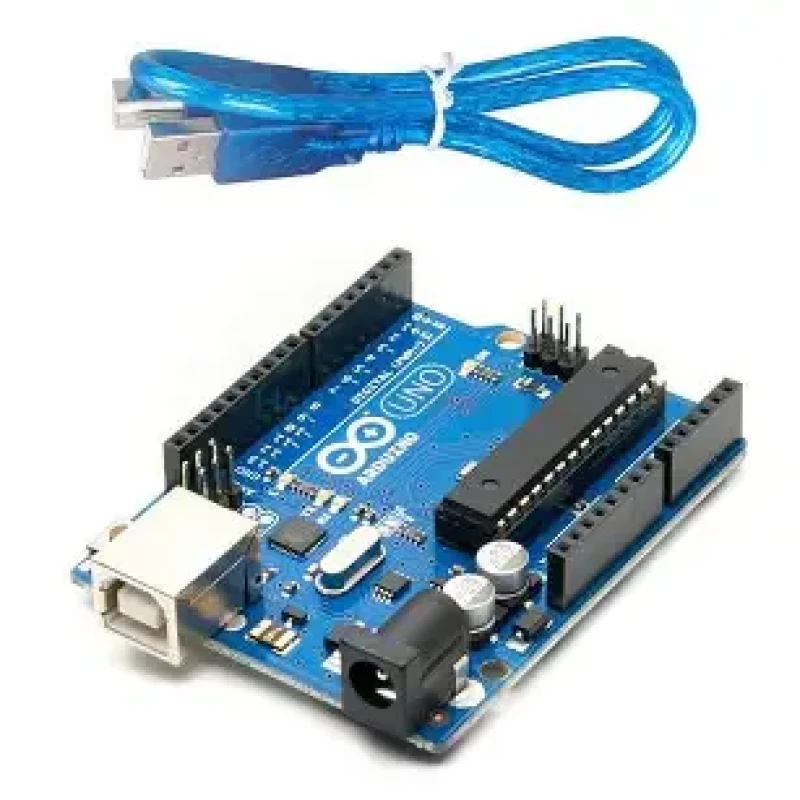
USB Jack: Connect the mini USB jack to a phone charger or computer through a cable and it will draw power required for the board to function
Vin Pin: The Vin pin can be supplied with an unregulated 6-12V to power the board. The on-board voltage regulator regulates it to +5V.
+5V Pin: If you have a regulated +5V supply then you can directly provide this o the +5V pin of the Arduino.
Input/output:
There are total 14 digital Pins and 8 Analog pins on your Nano board. The digital pins can be used to interface sensors by using them as input pins or drive loads by using them as output pins. A simple function like pinMode() and digitalWrite() can be used to control their operation. The operating voltage is 0V and 5V for digital pins. The analog pins can measure analog voltage from 0V to 5V using any of the 8 Analog pins using a simple function like analogRead().
These pins apart from serving their purpose, can also be used for special purposes, which are discussed below:
- Serial Pins 0 (Rx) and 1 (Tx): Rx and Tx pins are used to receive and transmit TTL serial data. They are connected with the corresponding ATmega328P USB to TTL serial chip.
- External Interrupt Pins 2 and 3: These pins can be configured to trigger an interrupt on a low value, a rising or falling edge, or a change in value.
- PWM Pins 3, 5, 6, 9 and 11: These pins provide an 8-bit PWM output by using analogWrite() function.
- SPI Pins 10 (SS), 11 (MOSI), 12 (MISO) and 13 (SCK): These pins are used for SPI communication.
- In-built LED Pin 13: This pin is connected with a built-in LED. When pin 13 is HIGH – LED is on and when pin 13 is LOW, it is off.
- I2C A4 (SDA) and A5 (SCA): Used for IIC communication using Wire library.
- AREF: Used to provide reference voltage for analog inputs with analogReference() function.
- Reset Pin: Making this pin LOW, resets the microcontroller.
These special functions and their respective pins are illustrated in the Arduino Nano pinout diagram shown above.